Gardening for Pollinators at Home
Editorial by Meg Kerr, Senior Director of Policy
My husband, Bob, loves to garden. Over the past decades, his work has transformed our half acre grassed lot into a quirky oasis of gardens and trees. Right after September 11, 2001 he planted a dawn redwood tree. It was a small, five-foot tall remembrance. Today, it towers over our home, and spreads its branches over a big part of our back yard. At about the same time, we celebrated Christmas with a live fraser fir, and he chipped frozen earth to plant it in early January. That tree also loved our yard and grew enormous, filling much of our front yard.
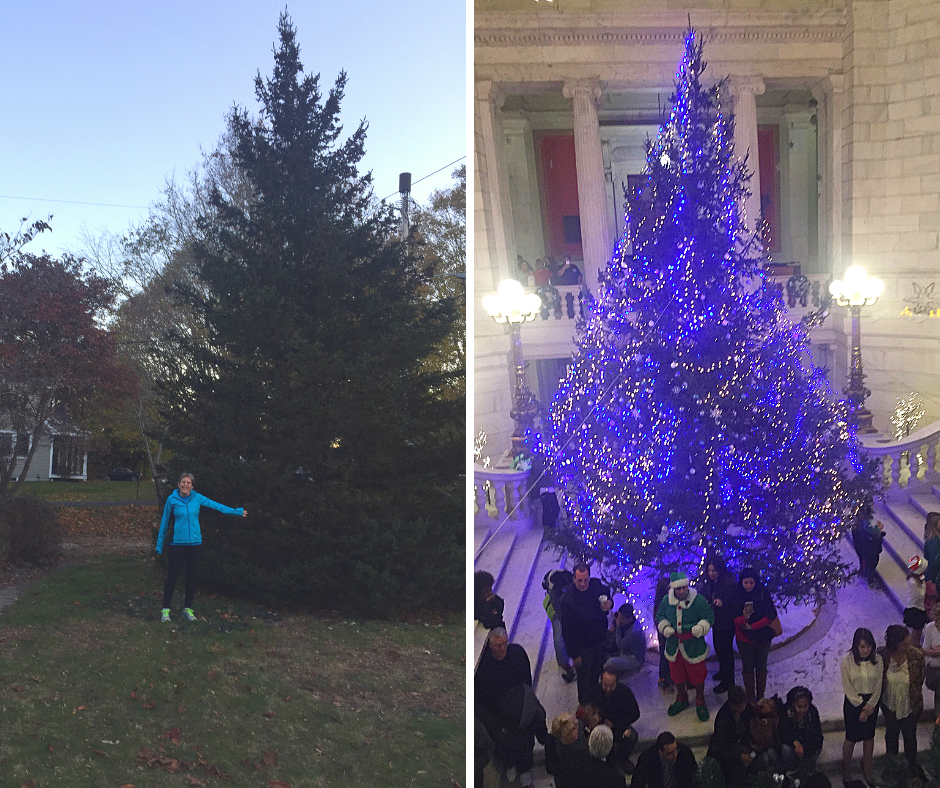
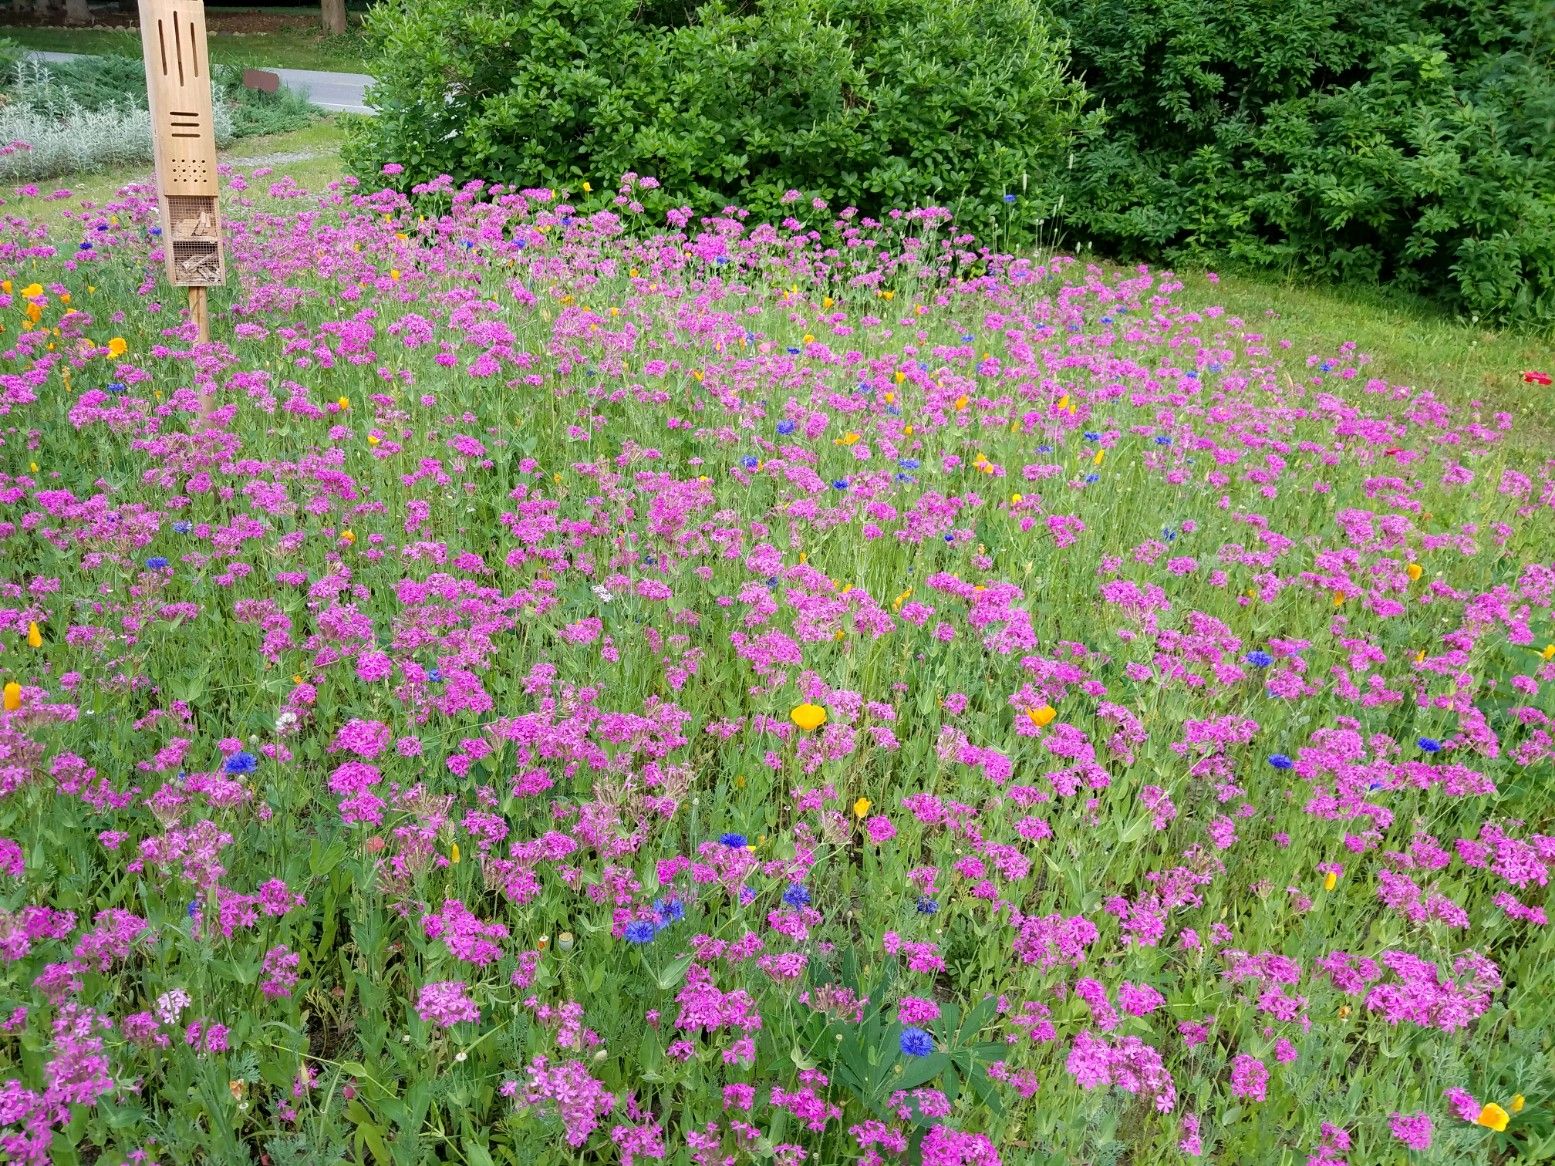
The Kerr family donated their large fraser fir to be used as the Christmas Tree in the
the State House. In its place, they planted a garden of wildflowers to support pollinators.
Last year, we decided that the fir was too big and needed to come down so we could have sunlight on our other gardens. Bob contacted the Governor’s office to see if we could donate it to the State House, and our tree was selected as the State House Christmas tree. On a cold November day, a crew arrived to take it down and deliver it to Providence. We later removed the stump and dug up the large area that was once covered by the tree and decided to turn the area, now wide open and sunny, into a pollinator garden.
We read up on pollinator gardens and recognized that weed control is a critical consideration. Because the site had been under a very large tree, we assumed that weed seeds were limited. We turned over the soil and removed tree roots until the site was thin layer of pine needles and soil. Before winter arrived, Bob planted daffodils throughout the new garden area and then covered it with a pollinator meadow seed mix. Following the instructions that came with the seeds, he mixed the seed with sand, spread the mix by hand and used his feet to stomp the seeds in place.
In the spring, the small daffodils came up first, followed by other daffodils and then the wildflowers. The spring was cool and wet and the early garden was a sea of California poppies and Islandic poppies which were followed by complete coverage of Catch Fly and Bachelor Buttons. Later in the season, the garden transitioned to Black-eyed Susan and Coreopsis tintoria.
Gardens, like us, change over the years. My family transitioned from planting Christmas trees in January to planning gardens for pollinators in an effort to support these insects in crisis. Some of us have vegetable gardens, some have small window boxes, and some of us are lucky enough to own larger spaces for an oasis of wildflowers. Please consider pollinators as you plan your garden spaces. If you live in an apartment and have a balcony, put out some pots of pollinator friendly plants. Add flowers to the edges of your vegetable garden or designate a space for pollinator friendly plantings in your landscaping. And if these options are not available to you, recognize and thank the folks around you who support pollinator-friendly plantings.
Test your Soil
Soil Testing
By University of Rhode Island, Cooperative Extension Master Gardener Program
Audubon Nature Center and Aquarium, 1401 Hope Street, Bristol, RI
April 6th 10:00am-2:00pm
The URI Master Gardener Soil Testing service is free of charge. You bring a sample of your soil to Audubon on April 6th and they test its pH (acidity/alkalinity) and evaluate its texture and content. Much of the soil in our region is more acidic than it needs to be for most vegetable and ornamental plants need to thrive. Master Gardeners provide specific recommendations for the gradual adjustment of your soil’s pH and improvements in your soil’s health.
How to collect a soil sample for testing:
URI Master Gardeners want to test the soil that the plant roots depend on, not the soil surface. Collect samples of your soil from the plant or lawn root zone, around 6″ deep. Collect separate samples each areas on your property that you’d like to test, such as vegetable gardens, lawns and flower gardens. Gather about a ½ cup amount from each of several places within each area to be tested. Mix the ½ cup samples for each test area together and allow the soil to dry on newspapers in the open air. Don’t heat the soil samples. Pull out rocks and debris. Next, place 1 cup of the mix in a paper bag or clean container and label it. Bring the samples to the soil testing location.